

Focus on long term relationships !
We have got all your needs covered: from residential insulation and drywall, to commercial, damage repairs and everything in between. Our vision is to deliver the finished product and stay on schedule to meet our deadlines.
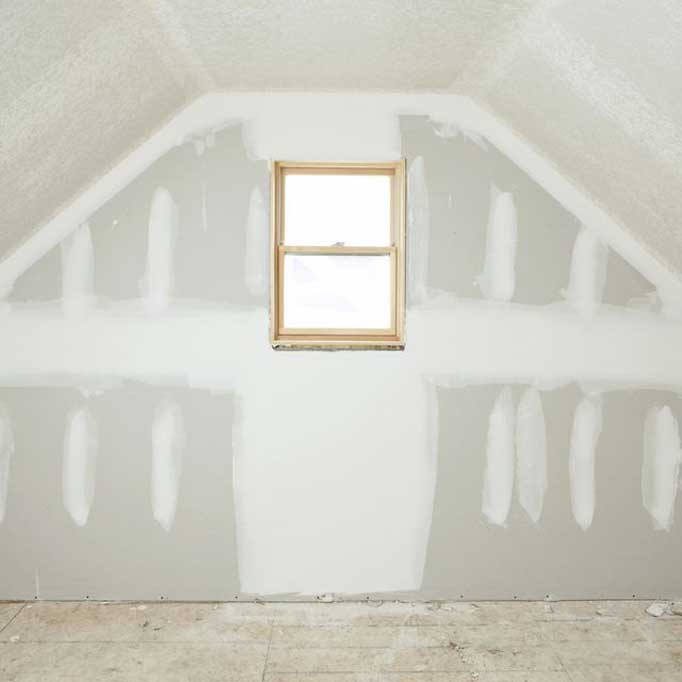
Things to know about Drywall Installation
PROPER FRAMING
For a good results, make sure that framing is done correctly. Twisted or bowed walls studs will result in wavy walls.
STUDS LOCATION
Mark all of the framing areas. Knowing location of framing studs will help you with placing the screws correctly and you won’t waste time on removing screws that miss the framing. Use your marks as a guide. Just draw a light pencil line across the drywall sheet to help you to place screws fast and accurately.
START WITH CEILING
Start your drywall installation project by hanging drywall at the ceiling first. Not to mention, this will help you line up your edges and corners of sheetrock easier.
TRIM OUTLETS
Often people forget trimming the opening for the outlet before attaching the drywall to the framing. That mistake will cause the board to break around the electrical box, requiring extra time to patch. In order that won’t happen you need to carefully measure and cut out the openings in your sheet of drywall and then press it tight to the wall. Trim excess drywall along tight box edges until the drywall slides easily over the outlet boxes and finish fastening it.
GET PROPER TOOLS
Buy a good quality tools and screws with a proper length! Drywall comes in different thickness, consider that before buying screws. Also note, that need to buy a drywall screw gun, not a regular drill. It is a lightweight drill that is designed specifically for setting drywall screws. It has a way to lock the trigger on, so you can set the screws very fast without hurting yourself. Also it has a cone tip that holds the screw in place and sets the depth so that all of the screws are set the same.
CONSIDER SPACING BETWEEN SCREWS
To hold drywall in place, you should put screws in a sufficient quantity. The maximum spacing for screws in the ceilings attached to wood studs is 12 inch on center and walls. Screws and nails should be driven approximately 1/32 inch below the surface. Always apply pressure to the board with your hand, just before the screw or nail begins to recess. The board must be tightly pressed against the framing when driving fasteners, so two or three people would be ideal for this job.
TEMPERATURE AND HUMIDITY
The best temperature for drywall installation should be 13 degrees C (55 F) or higher. Drywall will expand or contract when temperature changes. The drywall installed in cold weather will expand 1/2 inch over 100 feet when the temperature rises to 22 degrees C (72 F). So be sure to leave a 1/8 inch gap between sheets to account for this expansion. That also goes for gypsum finishing products as well. If allow drywall finishing materials to freeze before they completely dry, the finish compounds can lose their strength and bonding qualities.
KEEP THE SITE CLEAN
Working area has to be clean before, during, and after the job. Congestion of a mess and dust could hide dangerous objects and result in injury.
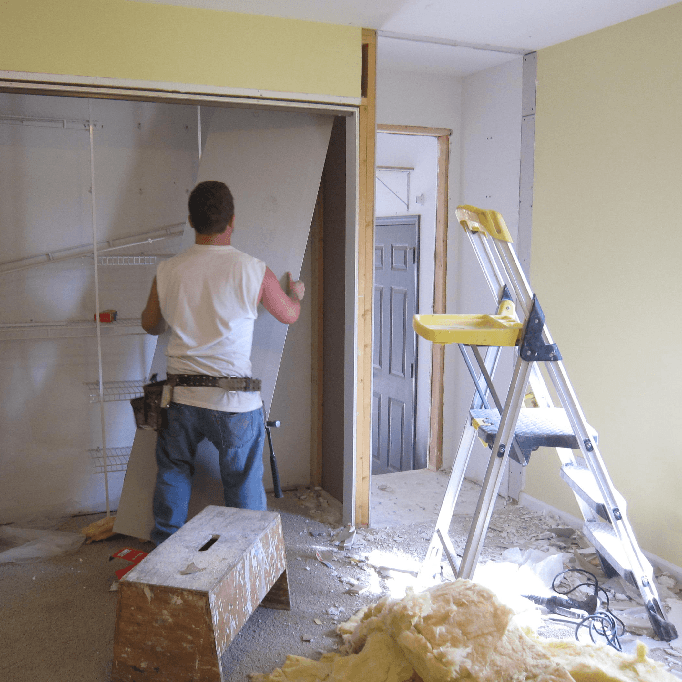
PROPER INSTALLATION
Last, but not least – make sure the drywall is properly attached! If not, you will most likely will experience problems at a later stage. The amount of clutter and time that goes into finishing the drywall, shows that you should spend extra time to properly install the panels. Often, people spend a little time installing drywall, thinking that the finisher will cover their mistakes. But they couldn’t be more wrong. Don’t let this happen on your project!
Contact us now for free consultation.
Give us a call and we can work on something exciting.